As of now, there is now way to edit the Navigation Menu template under the page template to let’s say add a region above or below it.
It’s possible to do it using jQuery though.
The way to do it is to have a region (in any position on the page) and to move it inside the left side navigation menu. Make sure the region you want move doesn’t have any item in it, because it could result in error.
For more info/details you could have a look at Martin D’Souza’s blogposts:
http://www.talkapex.com/2015/07/back-to-basics-html-form.html
http://www.talkapex.com/2015/07/apex-and-html-form.html
http://www.talkapex.com/2015/07/apex-and-order-items-are-submitted.html
Let’s start by creating a Pie Chart region using the “Blank with Attributes” template.
Under Appearance, I set the CSS Classes attribute to “underNavBar”.
Under the region’s attributes, I disabled the labels and the markers. I also fixed the width/height so that it would fit in the side menu region.
Now to get the region to be displayed above or below the left side navigation menu, we need to create a Page Load dynamic action that executes the following JavaScript code:
Use this one if you want the region to display above the left side menu
$('.underNavBar').prependTo('#t_TreeNav');
Use this one if you want the region to display below the left side menu
$('.underNavBar').appendTo('#t_TreeNav');
What’s left to do is adjust the CSS of the it all.
#t_TreeNav {
    display: flex;
    flex-direction: column;
    height: 100%;
}

#t_TreeNav ul {
    flex: 1 0 auto;
}

div.underNavBar{
    flex: 0 0 auto;
}
You can also hide the region when the menu is collapsed.
#t_PageBody.apex-side-nav.js-navCollapsed .underNavBar {
   display: none;
}
You will then get something like this:
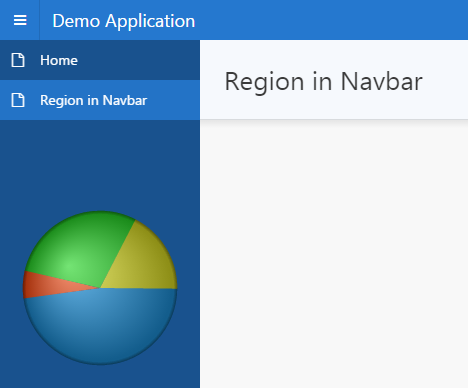
You can have a look at my Demo Application